
Let’s be honest. The travel blogging world is crowded. Stunning photos are a must, but video? Video is what stops the scroll. It pulls your audience right into the moment with you. But here’s the secret: you don’t need a Hollywood budget or a director’s chair. Your smartphone is a powerhouse. A simple editing app is your new best friend. All the magic happens in the edit. It’s about making your raw footage as engaging as your stories. Here are five simple ways to transform your clips from basic to brilliant.
1. Trim Excess Footage
Start with the basics. Learning how to cut out parts of a video — especially the boring bits — is step one in turning raw footage into something engaging. This isn’t about deception. It’s about respect for your viewer’s time and crafting a compelling pace. Think of your video as a story. You want to keep the narrative moving forward.
How it affects dynamics: A well-trimmed video has energy. It jumps from one interesting moment to the next. It feels intentional and professional. A long, unedited clip feels slow and amateurish. Learning how to cut out parts of a video is the first and most crucial skill. It’s the difference between a home movie and a travel story.
How to do it: Use any basic editing app on your phone or computer. Scan through your clip and look for natural start and end points. Cut right before the action begins and right after it ends. Keep only the gold.
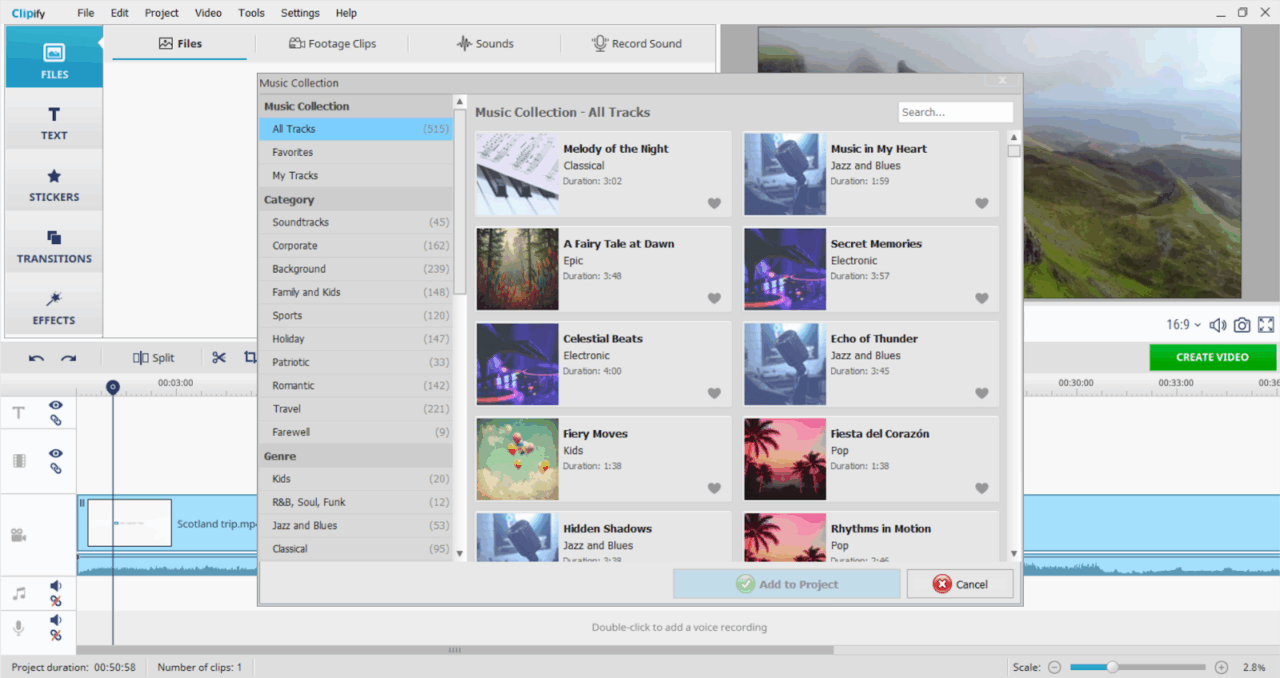
2. Set the Mood with Music and Sound
Sound is half the experience. The natural sound from your camera (audio) is great for authenticity. But layering in music and sound effects is how you build emotion.
Imagine a slow-motion shot of a sunset. Now imagine it with no sound. Then, imagine it with the gentle sound of waves. Finally, add a soft, uplifting acoustic track. Each version creates a completely different feeling. The right music tells the viewer how to feel.
How to enhance the atmosphere:
- Music: Choose a track that matches the vibe of your location and the story you’re telling. An upbeat track for a city adventure. A serene, ambient sound for a peaceful landscape.
- Sound Effects: Enhance reality. The sound of a distant bell, the sizzle of street food, the chirping of specific birds. These subtle layers make the scene feel rich and immersive.
Pro Tip: Always lower the volume of your music when someone is speaking or when you want the natural audio to shine through.
3. Guide Your Viewers with Text and Titles
Your viewers might be watching on a noisy train or with the sound off. Text on the screen ensures they never get lost. It’s your secret tool for clarity and context.
Use text to:
- Introducing a new location: “Hiking the Path of the Gods, Amalfi Coast.”
- Identify a unique food: “Trying Bánh Mì for the first time in Hanoi.”
- Share a fun fact: “This temple is over 800 years old!”
- Add captions for dialogue: This is essential for accessibility and for viewers watching without sound.
Titles function as visual guides which help viewers navigate through the content. Your video content organizes itself into distinct sections through these tools which deliver essential details without needing you to speak everything out loud. It makes your content cleaner and easier to follow.
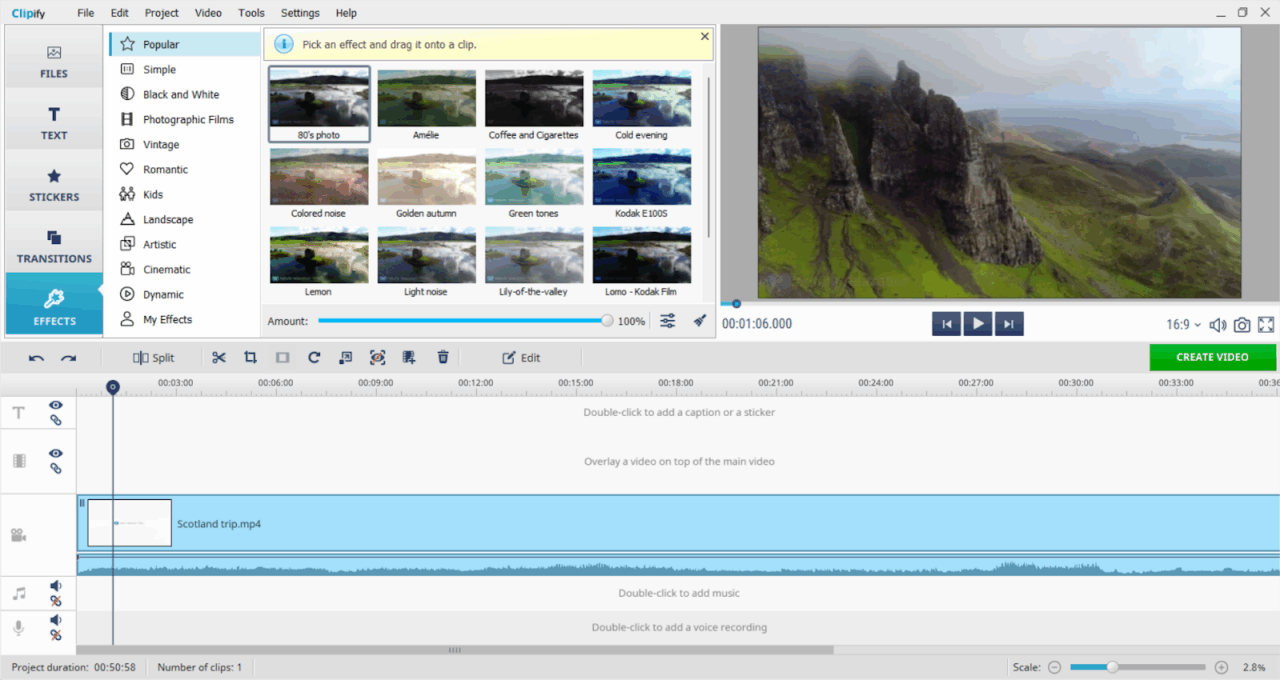
4. Make It Pop with Simple Color Correction
The light on your travels isn’t always perfect. Sometimes it’s cloudy. Sometimes your camera makes everything look a bit blue or orange. Color correction is your fix. It’s not about creating crazy Instagram filters. It’s about making the video look the way the scene felt in real life.
Your goal is to achieve a natural, balanced look.
- Adjust Brightness/Exposure: Is the clip too dark? Brighten it up so we can see the details in the ancient alleyway.
- Fix the White Balance: Does the snow look blue? Adjust the temperature to make it look crisp and white.
- Boost Contrast: This makes the darks darker and the lights lighter, adding depth and making the image feel less “flat.”
You don’t need to be a color grading expert. Most editing apps have an “Auto-Correct” button that does a decent job. Play with the sliders for warmth, brightness, and contrast. You’ll be amazed at the difference.
5. Build Your Story with Transitions and Structure
A video is a collection of moments. The structure is what turns them into a story. Think about the sequence of your clips. What do you want to show first? What’s the climax? How does it end?
Transitions are the glue that holds this structure together. A simple cut is often best. But sometimes, a purposeful transition can signal a change in time or location.
- The Jump Cut: A quick, sharp cut to show a passage of time. Perfect for showing the progress of a hike or a long meal.
- The Whip Pan: A quick pan of the camera that you can edit to “whip” into the next scene. It’s energetic and fun.
- Fade to Black: Use this to signify the end of a day or a major segment of your trip.
Structure your video with a beginning (the hook), a middle (the journey), and an end (the conclusion). Your transitions should help this flow, not distract from it.
Your Toolkit is Simpler Than You Think
You might be wondering about the tech. Here’s the beautiful part.
Minimum Viable Setup:
- Camera: Your latest smartphone. It shoots in 4K. It’s more than enough.
- A basic editing program (many free options exist for Windows, Mac, and mobile).
That’s the foundation. A tripod can help with stable shots, but even that isn’t mandatory at the start. Your creativity is the most important tool.
Before You Publish: A Quick Checklist
Before you hit “upload,” run through this quick list:
- Did I trim all the unnecessary pauses and mistakes?
- Is my music choice appropriate and at the right volume?
- Have I added text to explain key locations or facts?
- Do the colors look natural and consistent across clips?
- Does the video flow well from start to finish?
- Have I watched the entire video with the sound on and off?
Final Thoughts
Improving your travel blog with video doesn’t have to be hard. The process just requires small planned actions. Start with one of these tips. Master it. Then move to the next. Your audience is ready to travel with you. All you need to do is press record, and then press edit. The story is waiting.